Ferocious Horn Den is one of the standout Conquest (aka Conquest Difficulty) expedition dungeons in Aion 2, known for its layered mechanics, punishing bosses, and rewarding loot. In this guide, we break down the key strategies you need to Aion 2 Kinah conquer it — from the dungeon’s start to the final boss, Ferocious Horn Nuakum.
Dungeon Overview & Preparation
Conquest difficulty is designed to be tough but fair: it tests coordination, boss pattern mastery, and survival skills. Before entering:
Ensure your gear score is high enough — with recommended levels meaningfully above early conquest content. If your gear is well below the recommended range, the bosses will feel brutally strong.
Party composition matters: a balanced setup with a tank to hold aggro, a healer for sustained damage phases, and DPS to burn mechanics quickly is ideal.
Consumables like potions, food bites, and buff drinks are essential — especially for the final boss.
1. Starting Path & First Boss – Watchdog Quapo
The dungeon begins with a path where you can focus on forward momentum, ignoring weaker mobs and using bomb boxes to clear palisades blocking your way.
Watchdog Quapo Mechanics
Charge attacks: The boss often uses straightforward charges. Dodge laterally to avoid heavy hits.
Orb fields and ground effects: Purple orbs and ground zones frequently appear; avoid these quickly or use mobility skills.
Jump patterns: After certain animations, the boss executes area waves — use jumping or movement skills to evade.
Clearing this boss earns you the right to pass into the challenge room.
2. Challenge Room & Intermediate Mechanics
Between boss fights, you’ll encounter a totem room filled with mobs and a central totem. Strategy here focuses on:
Team positioning: Tanks and healers anchor in the center while ranged DPS use bombs from flanks to clear enemies.
Totem targets: Once all party members are inside, activate totems and focus down glowing targets.
This room tests your group synergy before larger boss fights.
3. Second Boss – Necromancer Dwanka
The second boss introduces soul mechanic phases:
Soul absorption patterns: Players must handle soul summons and coordinate who eats orbs and kills accompanying souls.
Ground mechanics: Group soaks and proper spacing keep damage manageable.
Handling these mechanics efficiently shortens the fight — a key to completing Conquest before timeouts.
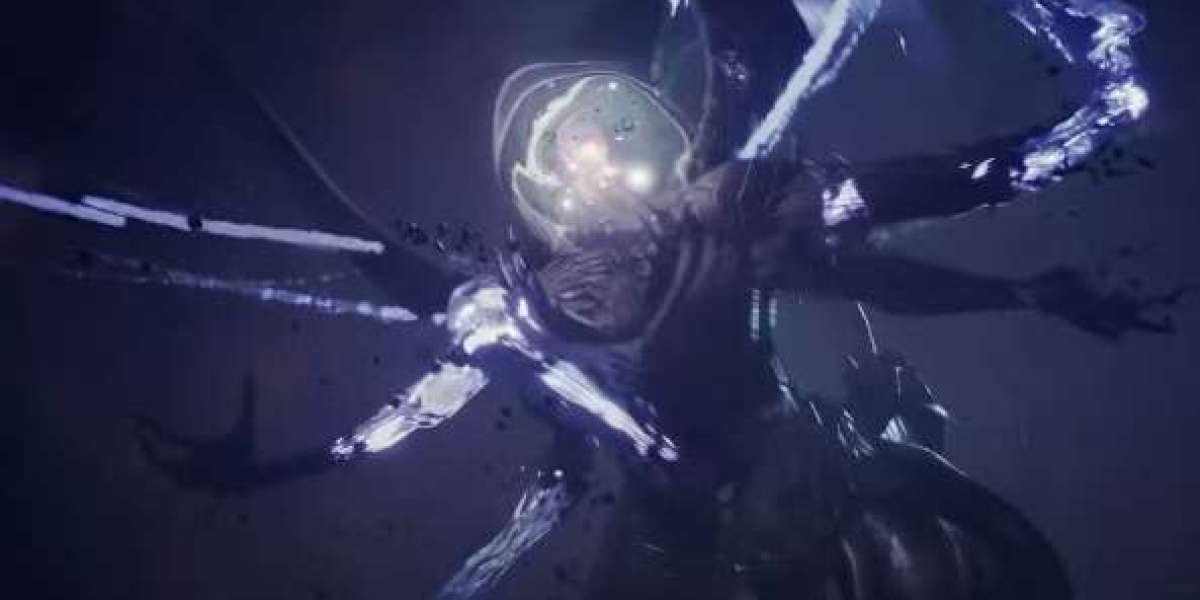
4. Final Challenge – Ferocious Horn (Nuakum)
The final boss, Nuakum, combines high damage output with complex mechanic chains:
Core Patterns
Avoid orbs and ground hazards: Blue orbs spawn continuously — staying too close deals heavy damage.
Shadow blocks: When a party member is bound during special casts, others must block shadows to absorb incoming damage.
Black hole events: Nuakum summons a black hole that must be filled with boss‑thrown red orbs (usually three times) to progress.
Group coordination: After tactical phases, teammates will need to stand near the bound player to mitigate heavy hits.
Mastering these mechanics — orb control, positional awareness, and soak timing — is the difference between victory and repeated wipes.
Final Tips
Communicate loudly and early: Call out mechanics like orbs, black hole phases, and incoming binds.
Pace your damage: Bursting recklessly often leads to overdrawing boss phases.
Practice makes perfect: Running the dungeon helps you internalize dodge windows and boss rhythms.
Conquering Ferocious Horn Den on Conquest difficulty is a cheap Aion 2 Kinah major milestone in your Aion 2 journey. Once mastered, the rewards — superior gear and epic loot — make the rigorous challenge worthwhile.