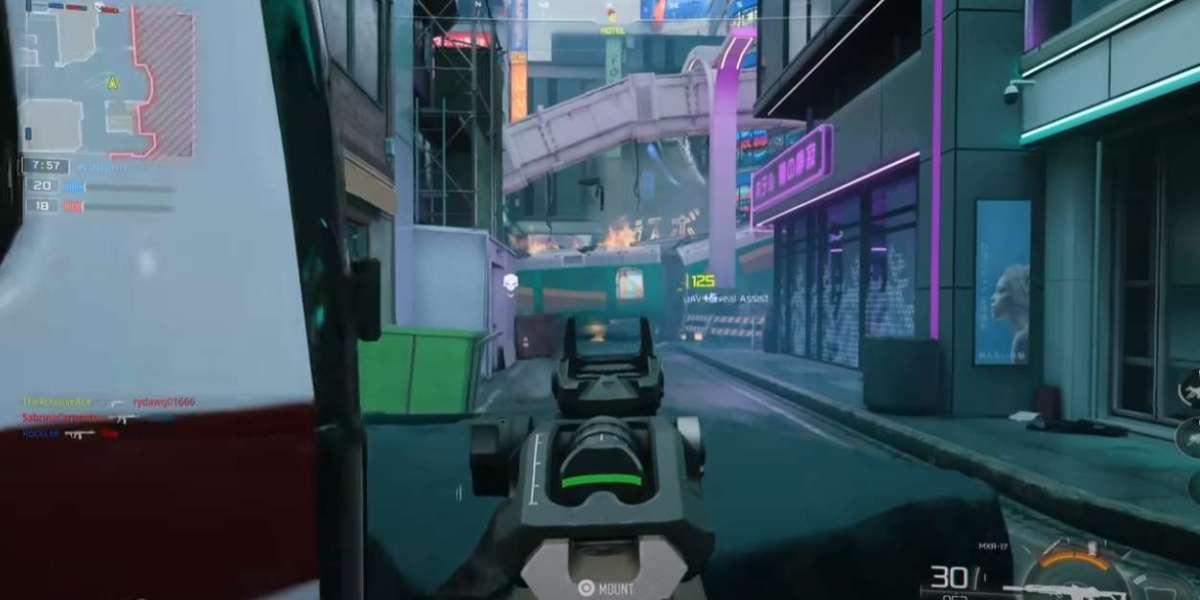
Call of Duty: Black Ops 7 (BO7) continues to evolve as one of the most competitive shooters in the franchise. Whether you’re grinding for kills, completing challenges, or simply enjoying the multiplayer chaos, understanding which tactical and lethal equipment gives you the edge can make a world of difference. In this guide, I’ll break down the current tier list for BO7 equipment based on usability, effectiveness, and overall impact in matches.
Tactical Equipment Tier List
S-Tier
Flashbang: Despite the game’s evolving mechanics, flashbangs remain a staple. Perfect for clearing rooms or disrupting campers, their versatility makes them invaluable in both objective and standard multiplayer modes.
Stun Grenade: Slightly more situational than flashbangs but incredibly effective in tight maps. Pairing a stun grenade with aggressive pushes can secure easy eliminations.
A-Tier
Smoke Grenade: Ideal for revives, objective control, or confusing enemy sightlines. While not lethal, its strategic use often turns the tide in close engagements.
Heartbeat Sensor: The classic recon tool is now more balanced, allowing you to detect enemies around corners or behind cover. Best used in slower, methodical playstyles.
B-Tier
EMP Grenade: Great against equipment and scorestreaks but situational since not all players rely heavily on electronics. Can be a game-changer in objective modes if timed right.
Lethal Equipment Tier List
S-Tier
Semtex: A staple for aggressive players. Fast explosion and sticky mechanics make it extremely reliable for clearing enemies behind cover or securing key kills.
Frag Grenade: Always effective and versatile, frag grenades are arguably the safest choice for guaranteed damage in chaotic moments.
A-Tier
Molotov Cocktail: Excellent for denying areas and forcing enemy movement. While slightly less flexible than frags, its area-of-effect damage is useful for controlling choke points.
Claymore: Perfect for defending objectives or guarding flanks. Not always effective in high-mobility scenarios but can punish careless opponents.
B-Tier
C4: Powerful but requires precision and timing. Best suited for players who are confident in anticipating enemy movements.
Tips for Maximizing Your Loadout
Mix Tactical and Lethal Wisely: Pairing a flashbang with a semtex or frag is often the most reliable setup for clearing rooms or gaining quick kills.
Adapt to Map and Mode: Equipment that shines in small maps may struggle in larger ones. For example, claymores excel in tight corridors but are less useful in open maps.
Practice Timing: Lethal equipment like frag grenades and semtex require proper timing and prediction. Even S-tier equipment can underperform if thrown carelessly.
Miscellaneous Insights
In today’s BO7 community, some players look for ways to enhance their matchmaking experience. Terms like buy bo7 bot lobbies or buy legit bo7 bot lobbies often appear in forums, indicating that some users are seeking low-risk practice environments. While I don’t endorse any unauthorized third-party services, understanding these discussions can give insights into how different players approach skill-building.
U4N continues to provide tips and strategies for both casual and competitive players, focusing on improving gameplay while staying aware of evolving meta trends. Proper equipment choice is just one part of a broader strategy, but it’s an essential one for climbing the ranks or enjoying a smoother multiplayer experience.


