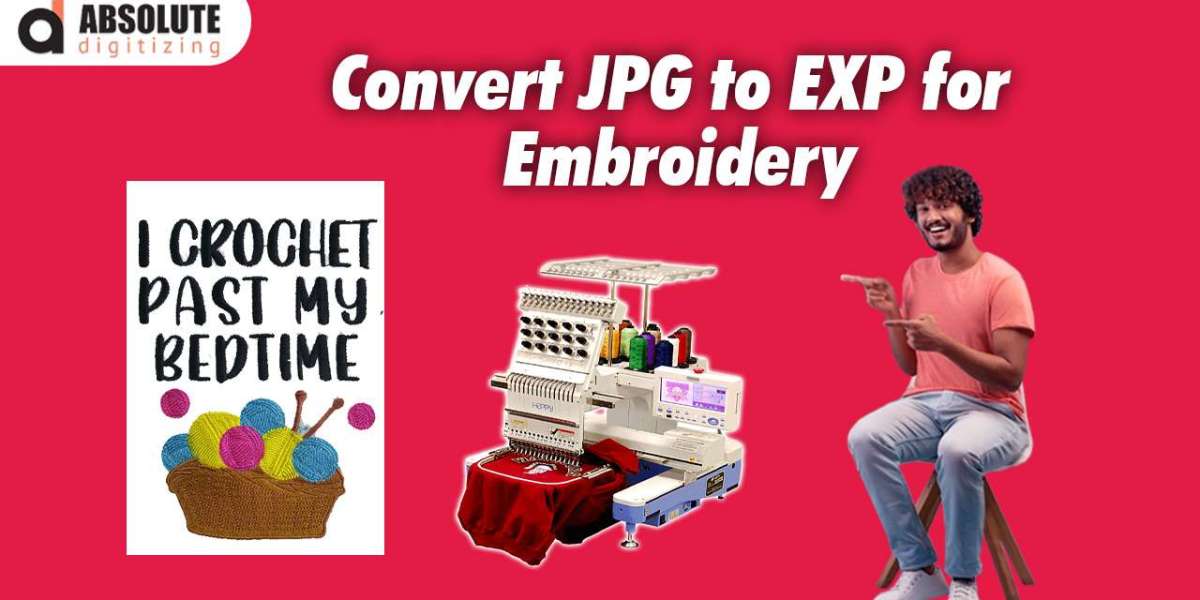
If you're into embroidery, you know how important it is to have the right file format for your designs. While JPGs are great for photos and general images, embroidery machines need something more specific—like EXP files. That’s where a JPG to EXP converter comes in. Converting your images to the right format ensures your embroidery designs stitch out perfectly every time.
In this guide, we’ll walk you through how to use a JPG to EXP converter, why it’s necessary, and some tips to get the best results. Whether you're a beginner or a seasoned embroiderer, this will help you create flawless stitch files without the hassle.
Why Convert JPG to EXP?
Before diving into the conversion process, let’s talk about why EXP files matter. JPGs are raster images made of pixels, which embroidery machines can’t read directly. EXP files, on the other hand, are vector-based stitch files that tell the machine exactly how to move the needle to create your design. Without the right format, your design might look pixelated, distorted, or just plain wrong when stitched.
EXP is a common format for Melco and Bernina embroidery machines, so if you’re using one of those, you’ll need this file type. Converting JPG to EXP ensures your design is machine-readable and optimized for stitching.
Choosing the Right JPG to EXP Converter
Not all converters are created equal. Some are free, some are paid, and some are just plain unreliable. Here are a few things to look for in a good converter:
- Accuracy: The converter should maintain the details of your design without distorting it.
- Customization Options: The ability to adjust stitch density, underlay, and thread colors is a huge plus.
- Compatibility: Make sure it works with your embroidery machine brand.
- User-Friendly Interface: A complicated tool can make the process frustrating.
Some popular options include Embrilliance, Hatch Embroidery, and Wilcom. There are also free online converters, but they may lack advanced features.
Step-by-Step Guide to Converting JPG to EXP
Now, let’s get into the actual conversion process. Follow these steps to turn your JPG into a perfect EXP stitch file.
1. Prepare Your JPG File
Before converting, make sure your JPG is clean and high-quality. A blurry or low-resolution image will result in a poor stitch file. If needed, use photo editing software like Photoshop or GIMP to:
- Increase contrast for better detection of edges.
- Remove unnecessary background elements.
- Resize the image to fit your embroidery hoop dimensions.
2. Upload the JPG to Your Converter
Open your chosen JPG to EXP converter software. Most programs will have an "Import" or "Open" option where you can upload your JPG file. Some online tools will let you drag and drop the image directly into the browser.
3. Digitize the Image
This is where the magic happens. Since JPGs aren’t natively stitch-ready, the converter will need to digitize the image—turning it into a series of stitches. Depending on your software, you may have automatic or manual digitizing options:
- Automatic Digitizing: Great for simple designs, this feature lets the software convert the image with minimal input. However, complex designs might need manual tweaks.
- Manual Digitizing: For more control, you can adjust stitch types (satin, fill, running), direction, and density. This is ideal for intricate logos or detailed artwork.
4. Adjust Stitch Settings
Even if you use automatic digitizing, you should still check the stitch settings. Key adjustments include:
- Stitch Density: Too dense, and the fabric may pucker; too loose, and the design won’t look solid.
- Underlay Stitches: These help stabilize the fabric and improve the final look.
- Thread Colors: Assign colors to different sections if your design is multi-colored.
5. Preview and Edit
Most converters have a preview mode where you can see how the stitches will look. Zoom in to check for any gaps, misaligned stitches, or awkward jumps. If something looks off, go back and tweak the settings.
6. Save as EXP
Once you’re happy with the design, save it in EXP format. Make sure to choose the correct version if your machine requires a specific EXP variant.
7. Test the File
Before stitching on your final project, do a test run on scrap fabric. This helps you spot any issues with tension, thread breaks, or design flaws.
Tips for Best Results
- Keep It Simple: Highly detailed JPGs may not convert well. Simplify complex designs before converting.
- Use High-Contrast Images: Bold lines and clear edges digitize better than soft gradients.
- Check Hoop Size: Ensure your design fits within your machine’s maximum embroidery area.
- Experiment with Stitch Types: Satin stitches work well for text, while fill stitches are better for large areas.
Common Problems & Fixes
- Design Looks Jagged: Increase the stitch density or adjust the underlay.
- Thread Breaks Frequently: Reduce stitch density or change the needle.
- Colors Don’t Match: Double-check thread color assignments in the software.
Final Thoughts
Converting JPG to EXP doesn’t have to be complicated. With the right tools and a bit of patience, you can turn any image into a stitch-ready embroidery file. Whether you're personalizing gifts, creating custom apparel, or working on a professional project, a good JPG to EXP converter ensures your designs come out looking flawless.
Now that you know the steps, why not give it a try? Pick a high-quality JPG, fire up your converter, and start stitching like a pro!